
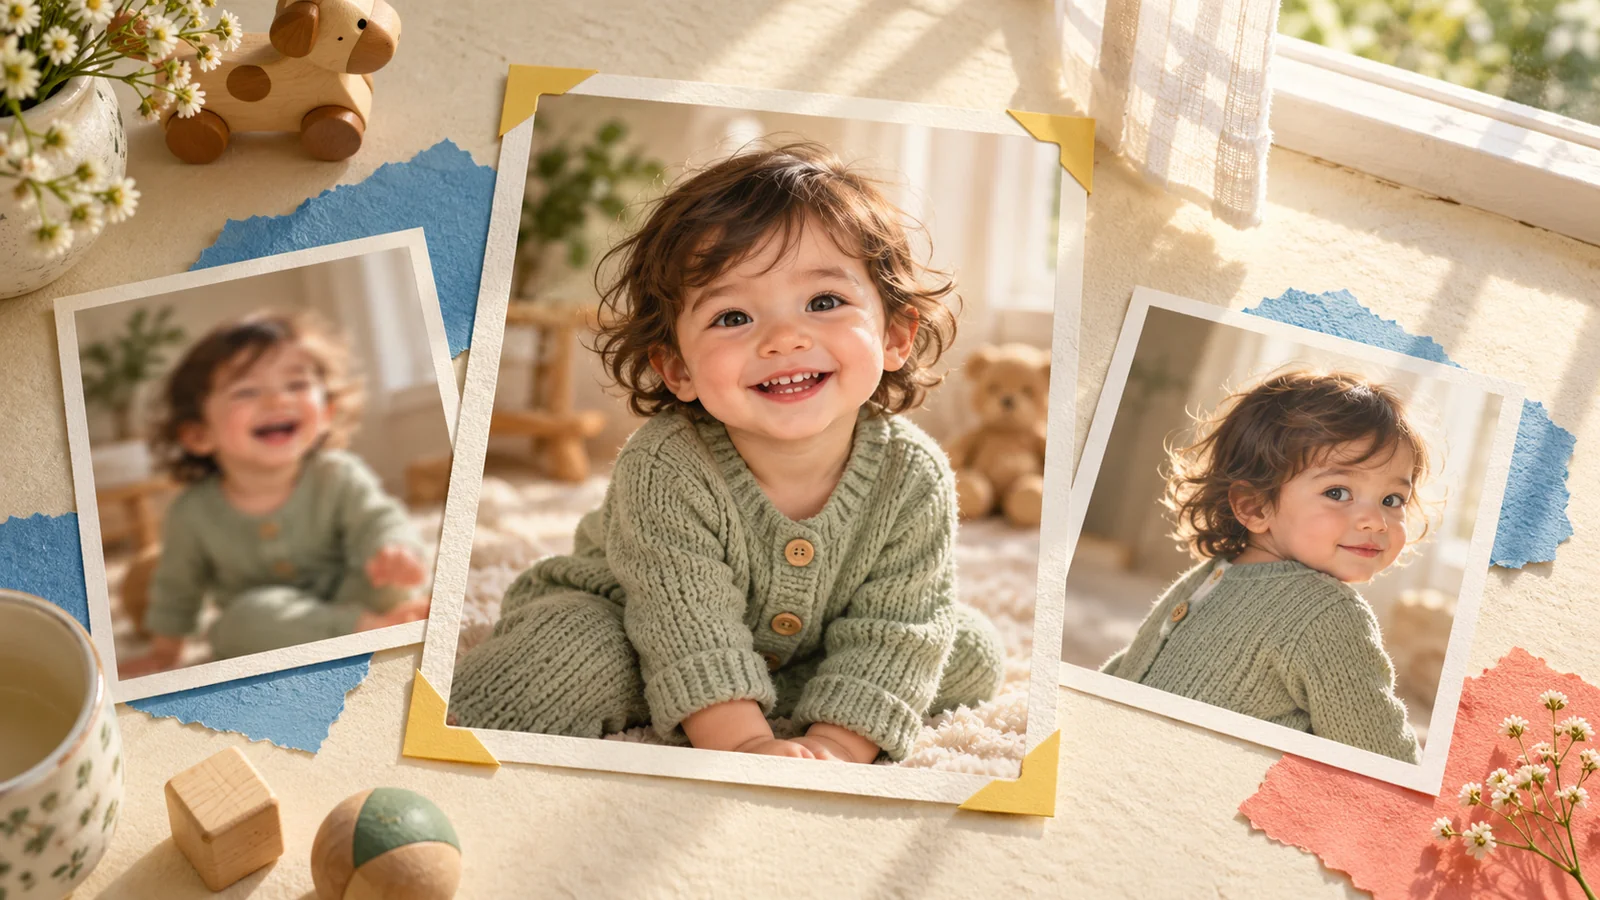
AI-generated editorial illustration, not a real customer photograph or proof of product results.
Choosing a photograph is one of the few parts of an AI baby dance project you can control directly. You cannot instruct every generated frame into place, but you can give the system a clearer starting point. That makes photo selection worth a little attention before you spend time comparing motion templates.
The best source photo is not necessarily the newest or most elaborate one. Often it is an ordinary picture in soft light, with a clear face and enough space around the child. Use the following checks to compare the photos you already have.
Inspect the file, not just the thumbnail
A picture can look sharp in a small gallery preview and become visibly soft when opened at a larger size. Zoom in enough to inspect the eyes, nose, mouth, and outline of the face. Look for motion blur, heavy smoothing, or compression that turns small details into blocks.
Choose the original file when you have it. A screenshot of a photograph introduces another crop and another round of processing. Increasing the dimensions of a blurry file does not bring back detail that was never captured. If you are deciding between two pictures, prioritize genuine clarity over the larger number printed beside a file.
Look for gentle, even light
Light should make the face easy to understand. Strong backlighting can leave features in shadow, while harsh light from one side can divide the face into very bright and very dark areas. Neither automatically prevents generation, but both make the input less straightforward.
A photo taken near a window can work well when the face remains evenly visible. You do not need to recreate a studio setup or take new pictures solely for the generator. Start by checking your existing collection for a naturally clear image. Avoid editing so aggressively that skin texture and facial details become a smooth patch.
Match the framing to the movement
Think about the dance before settling on a crop. A close portrait gives useful information about the face but may show little of the outfit or body. A movement involving visible arms and legs benefits from a source composition that makes those areas easier to interpret.
Leave breathing room around the head and any limbs that are visible. An edge cutting through a hand, a shoe, or the top of the hair can produce an awkward starting point. A wider original is often more flexible than an image that has already been cropped tightly for a profile picture.
Reduce avoidable visual confusion
Choose a photograph with one clear main subject. A second person partly overlapping the child, a toy covering the mouth, or patterned furniture immediately behind the head can make the image harder to read. A simpler composition helps you judge whether the output preserves the features you care about.
Clothing matters as part of that composition. Clear garment edges can be useful, while layers that blend into the background provide less separation. You do not need a particular color or special outfit. Look for contrast that lets you distinguish the child from the surrounding scene without extensive editing.
Keep the expression recognizable
A relaxed, familiar expression is a useful baseline for a first attempt. If the face is mostly turned away or hidden behind a large accessory, the generator has less visible information about identity. A clear front or gently angled view makes it easier for you to assess resemblance afterward.
Do not choose a picture only because its pose resembles the motion reference. A clean photograph with a familiar face can be more useful than a visually similar pose that is blurry or obscured. Let the reference supply movement, and let the source photograph supply a readable subject.
Compare two candidates with the same reference
When you cannot decide between two photos, keep the motion reference and other available settings consistent. Review the results using the same criteria: facial resemblance, stable clothing, clean body outlines, and a sensible crop. This is a practical comparison, not a guarantee that one image will always win.
Write down what changed. Perhaps the wider photo preserved the outfit better, while the closer portrait gave a clearer face. That observation helps you choose an input for the next project instead of repeatedly guessing. Avoid changing the photo, model, and reference simultaneously if your aim is to understand the difference.
Choose with the final audience in mind
Check the background for information you would not want included in a shared video. A school badge, a visible address, or a document on a table may be easy to overlook in a family photograph. Crop thoughtfully before uploading, without cutting away the details the project needs.
Use photos you are entitled to use, and keep the original separate from your generated files. When you have selected a clear image, continue with our first-video walkthrough or open the BabyDance generator. A few careful choices at the beginning make the result easier to review later.